Make it yourself – Midori Traveler’s style leather Moleskine Cahier or Field Notes notebook cover
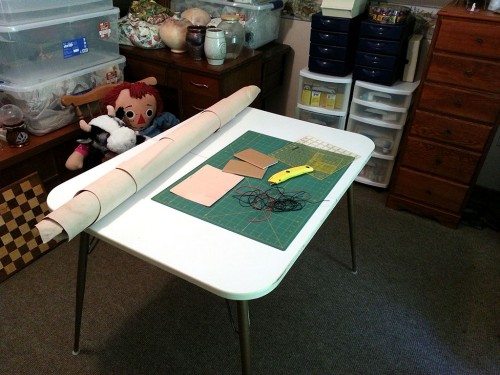
A couple years ago I reviewed the Midori Traveler’s Notebook and commented that it was too expensive at $60 and that I could easily make one of my own for $20 or less. After I posted that review, I ended up buying all the supplies I needed to make my own covers. The next year I made about 20 of them and sent them as Christmas gifts to all my writers here at The Gadgeteer. The other day someone left a comment on the Midori review asking if I had ever made a cover for less than $20. That question prompted me to write up this short how-to article. I hope you find it useful.
Note: Images can be clicked to view a larger size.
If you don’t think you are crafty enough to tackle this project, I’m here to tell you that you can do it. It’s not hard at all. The hardest part is getting the supplies… and even that is easy thanks to the internet.
Instead of making the weird sized Midori notebook, I opted to go with a size that I could easily find refills for. Moleskin Cahiers, Field Notes and similar 3.5 x 5.5 inch sized notebooks are the perfect size, so I went with them.
Shopping list
Mandatory:
3 oz leather – I ordered a 20-24 sq. ft. piece from Leather Unlimited that will last for a very long time. I’ve made 25 or so covers and still have a LOT left over. ($80)
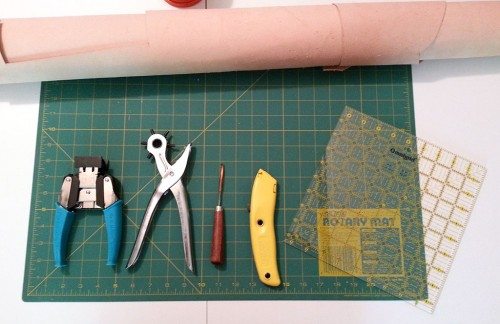
Utility knife – I suggest a utility knife over scissors because they are sharper and cut much better. ($10)
Ruler, square, or some sort of straight edge – You should already one of these (Free)
1/16 inch elastic cord – You can find this in the sewing areas of Hobby Lobby, Joann Fabrics or Amazon ($4 for 5yds)
Nail / hammer – to make holes in leather (Free)
2 Moleskin Cahier or Field Notes sized notebooks ($8 for a pack of 3 from Amazon)
Total: $102.00
Optional:
Omnigrid - It’s designed for quilters and it works great for cutting leather squares. Much easier than using a standard ruler. (12 or 15″ size about $20 from Amazon)
Leather hole punch – Easier to use than a nail ($10 from Amazon)
Awl – Makes reaming holes easier ($4 from Amazon)
Corner cutter – Adds a finishing touch to the corners of the cover ($20 from Amazon)
Total: $54.00
Yes, I realize if you buy all of these supplies including the optional items, that it costs $156 which is much more than the $60 Midori Traveler’s Notebook, but the bulk of the price is the leather and if you think you’ll enjoy making projects like this one, it’s worth it to buy a large piece for future projects. You also might be able to find leather for a better price if you shop around. I am really happy with the leather I purchased from Leather Unlimited. There were no blemishes and it was easy to work with.
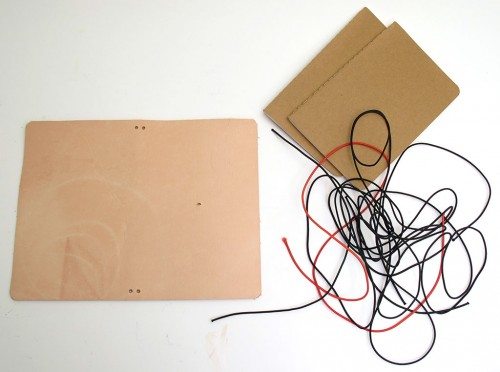
The first step is to cut an 8 x 6 inch rectangle of leather. That size is assuming you’re going to make a cover for two 3.5 x 5.5 inch size notebooks. If you’ll be using different sized notebooks, you’re on your own to figure out the leather size.
The next step is to punch 5 holes for the elastic cord. To figure out where to put the holes, just lay your two notebooks on the piece of leather and mark the top two and bottom two inside corners. I use a leather hole punch for these two holes.
You’ll also need a hole for the elastic loop which will hold the cover closed. That one should be centered on the right side as you’re looking at the raw/rough side of the leather. You can use an awl or nail to make that hole.
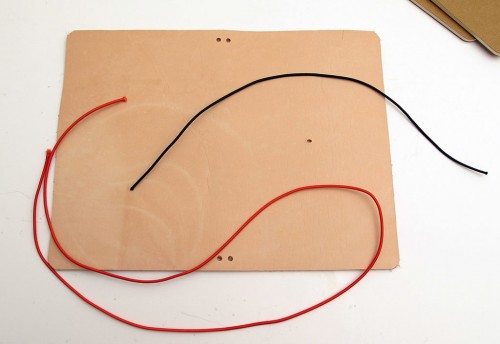
Cut a 26 inch length of elastic cord and a 10.5 length of cord. Set the shorter piece aside. Take the longer piece and thread it through the bottom two holes so that the loop is on the “good” side of the leather.
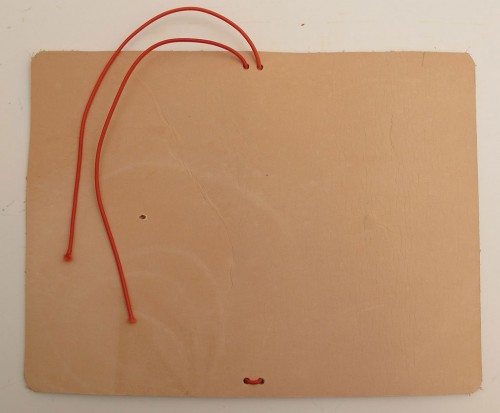
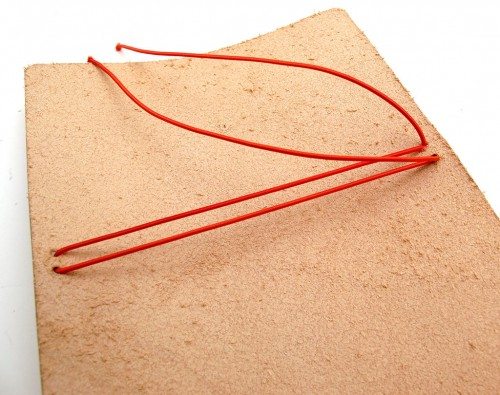
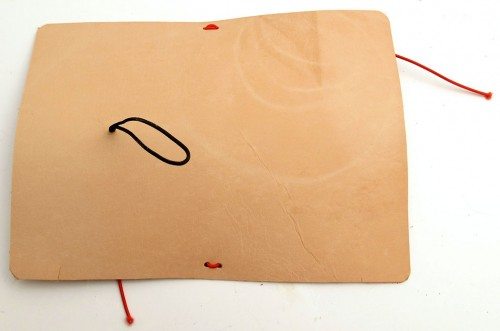
Thread the cord through the top holes as shown above. You should now have two long sections of elastic on the raw side of the cover.
Flip the leather over to see the cord on the good side. The hole for the closure loop should be on the left side.
Thread the elastic back through the top two holes so that the cord coming from the left hole threads through the right hole and visa versa.
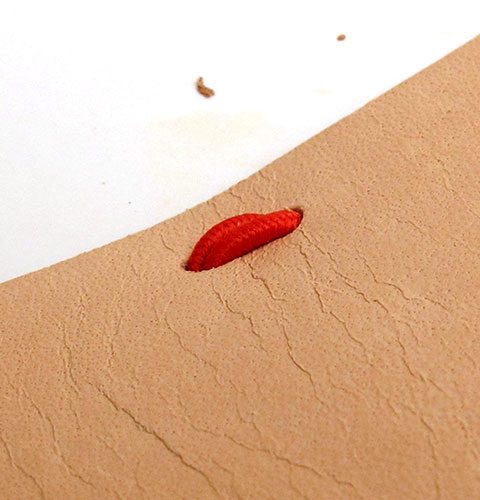
The good side will end up having a double loop at the top as shown here.
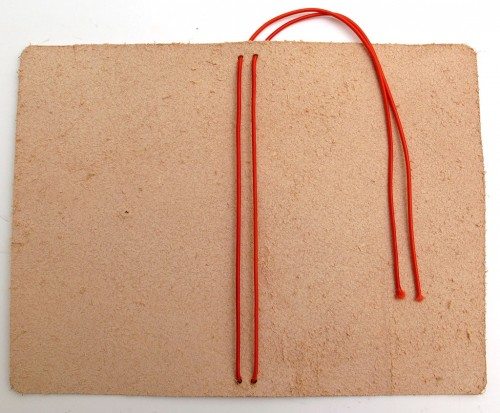
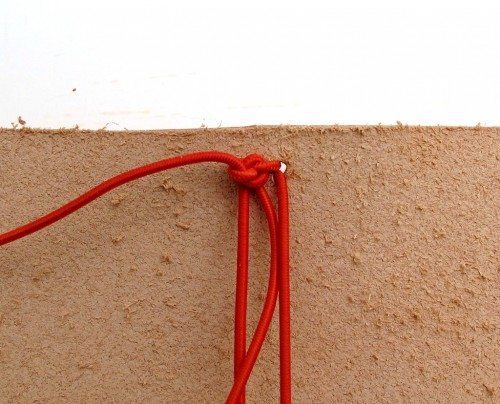
Flip it to the raw side and it should look like this. Adjust the cord tension so that it’s slightly bowing the leather. This will help hold the notebooks in place.
Then tie a simple knot. Don’t cut the ends yet…
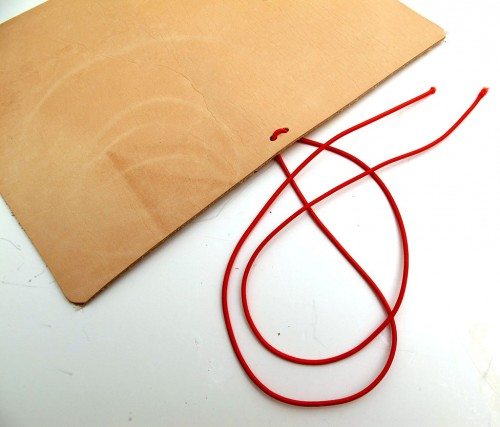
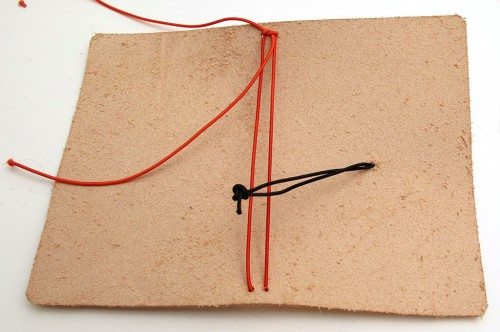
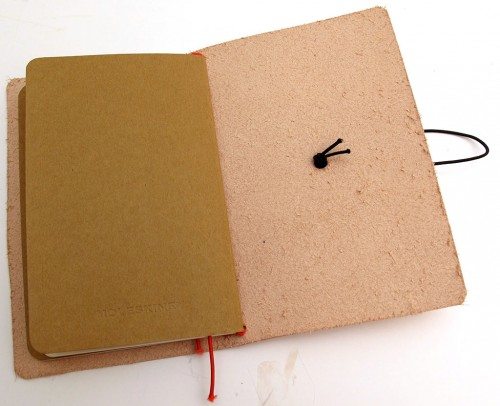
Take the shorter 10.5 inch piece of cord and tie a knot in the end. Push the loop end through the hole so that it comes out on the good side of the leather.
This is what it should look like. You’re almost done!
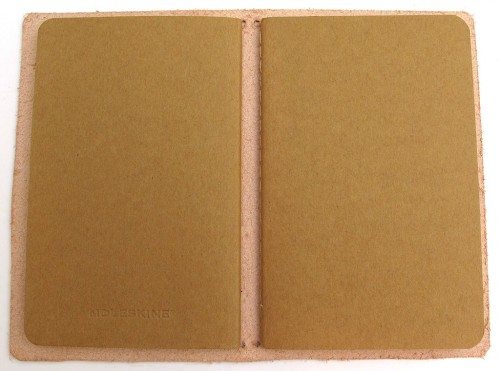
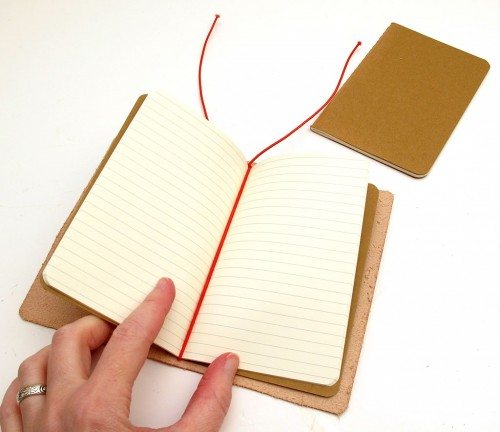
Grab your 2 notebooks, and open one of them to the center and slide it through one of the cords so that the cord rests between the center pages of the notebook.
Do the same thing with the other notebook on the remaining cord. You now have 2 notebooks and can close the cover with the elastic band.
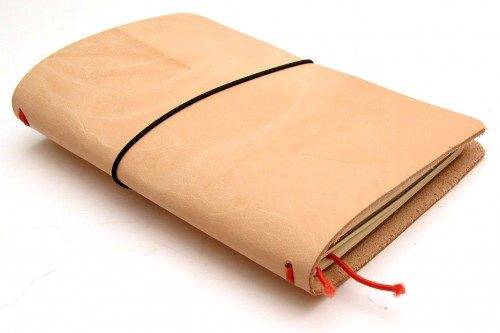
The final product should look similar to this. The ends of the cords can be used as a book mark – one for each notebook. Or if you don’t like that, you can cut them off. You could also make the cord longer than 26 inches and tie a bead to the end. Some people even add beads and charms to the elastic that holds the cover closed. It’s up to you to customize it however you would like.
I have made enough of these covers that I can make one start to finish in less than 20 minutes. I should go into business shouldn’t I? ![]()
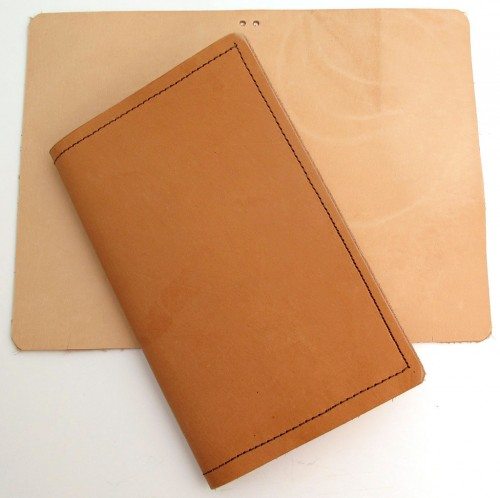
If you don’t like the look of the raw leather, you could dye it with leather dyes or do what I do and put it out in the sun a couple days to tan it naturally. The cover you see above is one I carry with me everyday. It’s different than the one I’ve shown you how to make because it is sewn… but it used the same leather which browned naturally in the sun. I just laid it flat on my deck for a couple days.
I’m not a math whiz, so I can’t easily tell you how much one cover really cost me to make due to the large piece of leather that I purchased. But I have a lot of leather left and more projects to come, so I don’t mind.
Let me know what you think about this article and if you would you like to see more how-tos.
Filed in categories: Articles, Do-It-Yourself, How-To
Tagged: Field Notes, Make it yourself, Moleskine, Notebook cover
Make it yourself – Midori Traveler’s style leather Moleskine Cahier or Field Notes notebook cover originally appeared on The Gadgeteer on August 25, 2013 at 5:27 pm.
search engine optimization search engine optimization blog click here for more info visit this site

0 Comments:
Post a Comment
Subscribe to Post Comments [Atom]
<< Home